How to Make an Animation Picture with Music and Techno Dubstep
Contents
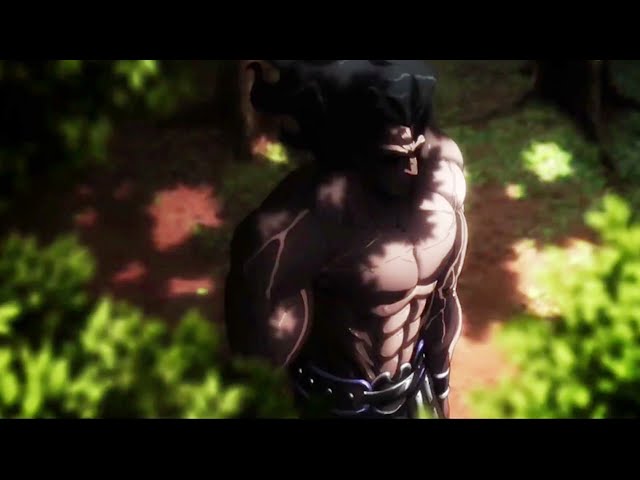
In this tutorial, you will learn how to make an animation picture with music and techno dubstep.
Open Fruity Loops
Open Fruity Loops and create a new project. In the “Templates” box, select “Default”. This will open up a new project with all of the basic channels that you will need to create your animation.
Find a sound or sample you like
The first step to make an animation with music is to find a sound or sample that you like. You can use any type of sound, including a song, an instrumental, or even just a noise. If you want to use a song, try to find one with a good beat that you think will be easy to animate to. Once you have your sound, the next step is to create your animation.
Layer the sound
In order to make an animation picture with music, you need to layer the sound. This means that you will need to have different types of sounds playing at the same time. For example, you might have the music playing in the background, and then have sound effects and voices layered on top of that.
Find a picture
Now that you have the supplies that you need, it’s time to start creating your masterpiece! The first step is to find a still image that you want to use. This can be a photo that you took yourself, or any other image that you have the legal right to use. If you’re not sure where to find such an image, there are plenty of websites that offer free stock photos. Once you’ve found an image, open it in an image editing program such as Photoshop or GIMP.
Insert the picture
In this tutorial you will learn how to make an animation picture with music and techno dubstep.
Export the picture
First, make sure your project is complete and all of your frames are in place. Click File > Export > Export Movie. In the Export Movie dialogue box that opens, give your file a name and choose where you’d like to save it. Then, click the Options button.
In the Movie Options dialogue box that opens, choose MP4 as your format and H.264 as your codec. These are both industry standard formats that will work with most video editing software.
Next, choose a frame rate for your video. The frame rate is the number of frames per second (fps) that will be exported. A higher frame rate will result in a smoother video, but will also create a larger file size. For most projects, 30fps is a good middle-of-the road option.
After you’ve chosen your format and codec, click the Export button and wait for the export process to complete. Once it’s done, you can open your MP4 file in any video editing software to add music or other effects!