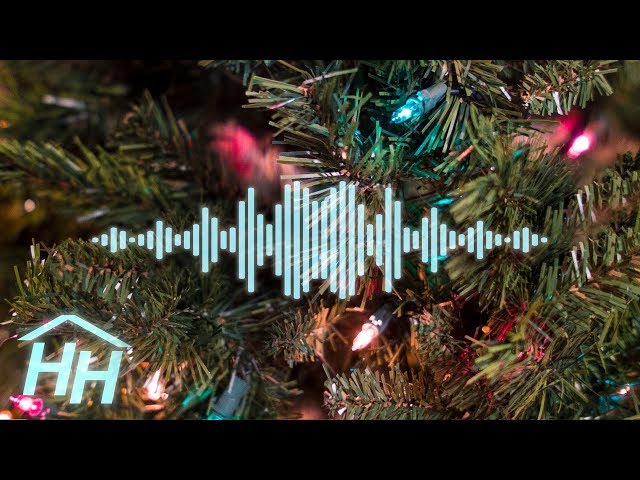
How to Make Your Christmas Lights Dance to Dubstep Music
Contents
How to Make Your Christmas Lights Dance to Dubstep Music – It’s easy and only requires a few supplies that you may already have around the house!
Introduction
This guide will show you how to make your Christmas lights dance to Dubstep music. You will need the following items:
-Christmas lights
-A music player (such as an iPod or MP3 player)
-An AC power outlet
-A computer with internet access
First, find a suitable location for your dancing lights. A good spot would be near an AC power outlet, so you can plug in your lights and music player. If you are using an iPod or other portable music player, you may also want to find a place to put your player so it is within easy reach.
Next, string up your Christmas lights. You can use any type of light, but mini-lights work best because they are smaller and easier to manipulate. Once your lights are in place, turn on your music player and start playing some Dubstep music. As the beat drops, begin moving your lights around in time with the music. Experiment with different speeds and patterns until you find a look that you like.
What You’ll Need
In order to make your Christmas lights dance to dubstep music, you will need the following items:
-A power strip
-An extension cord
-A sound system
-A laptop or other source of dubstep music
-Christmas lights (preferably LED)
Instructions:
1. Plug your Christmas lights into the power strip.
2. Plug the power strip into the extension cord.
3. Run the extension cord to the desired location of your light display.
4. Set up your sound system near the light display.
5. Make sure the sound system is connected to a laptop or other source of dubstep music.
6. Turn on the dubstep music and enjoy your dancing Christmas lights!
Step One: Choose Your Lights
The best lights to use for a DIY light show are LED lights. Not only do they use less power, but they also last much longer than traditional incandescent bulbs. You can find LED lights just about anywhere these days, from your local home improvement store to online retailers like Amazon. Just make sure to pick up enough lights to cover the area you want to light up.
Step Two: Choose Your Controller
Once you have your lights, you’ll need a controller. This is what makes your lights dance to the music. You can find controllers specifically designed for Christmas lights, or you can use a computer program like Light-O-Rama or Madrix. If you want to go the DIY route, you can even build your own controller using an Arduino board.
Step Three: Set Up Your Lights
Now it’s time to set up your lights. If you’re using a controller, follow the instructions that came with it. If you’re using a computer program, install the software and connect your controller to your computer according to the instructions. Once everything is connected, turn on your lights and music and watch them dance!
Step Two: Choose Your Music
Now that you’ve got your hardware setup, it’s time to choose your music. Any Dubstep song will work, but we recommend finding a song with a good bass line so you can really feel the lights shaking. Once you’ve found a song, open it in iTunes (or your preferred music player) and start playing it at a low volume.
Step Three: Set Up the Controller
Now that your computer is ready to go, it’s time to set up the controller. This is the device that will actually control the Christmas lights and make them dance to the music.
There are many different types of controllers available, but for this project we will be using the Light-O-Rama (LOR) CTB16PC. This is a 16-channel controller that can be programmed to do all sorts of cool things with lights. It’s not the cheapest controller out there, but it’s one of the most popular and it’s very well supported by the LOR software.
If you’re using a different type of controller, you’ll need to figure out how to hook it up to your computer. Consult your controller’s documentation for more information.
Once you have your controller hooked up, open up the LOR software and create a new project. Select your controller from the list of supported devices and give your project a name.
Step Four: Hang Up Your Lights
Now that you have your music and your lights, it’s time to start putting them up! If you’re using regular old Christmas lights, you’ll just need to string them up around your room or yard in the usual way. But if you’re using those special programmable lights, then you’ll need to follow the instructions that came with them to get them all set up. Basically, you’ll just be plugging them into an outlet and attaching them to whatever surface you want them to shine on.
Step Five: Test It Out!
Now it’s time to see if your circuit works! With the power off, plug in the USB cable from your computer to the controller. If everything is hooked up correctly, you should see a red LED light up on the controller. This means that it’s receiving power.
Now turn on the power switch. You should see all of the LEDs on the controller light up. If they don’t, check your connections to make sure they’re tight and that you haven’t accidentally swapped any of the wires around.
Once you’ve verified that everything is working, it’s time to add music! Plug your speakers into the audio jack on the controller and fire up your dubstep playlist. You should now see the LEDs dancing along with the music!
Conclusion
In conclusion, making your Christmas lights dance to Dubstep music is a really fun way to spice up your holiday decorating! It’s also a great way to impress your friends and family who come over to visit during the holiday season. All you need is a little bit of patience and some musical creativity, and you’ll be able to create a truly unique and memorable display that will have everyone talking.