How to Create Heavy Metal Music on Your Computer
Contents
A guide on how to create heavy metal music on your computer, with tips on the best software to use and how to get the most metal sound possible.
Introduction
This tutorial will show you how to create heavy metal music on your computer. You will need a few things to get started:
– A computer with a sound card and speakers
– A digital audio workstation (DAW)
– A MIDI keyboard or other controller
– VST plugins or other virtual instruments
– Audio samples
With these things, you can create heavy metal songs of your own. Let’s get started!
What You Will Need
To create heavy metal music on your computer, you will need a few things:
-A computer with a sound card and speakers
-DAW (digital audio workstation) software
-Virtual instruments
– Plugins
– Samples
Step One: Choose Your DAW
The first step to creating heavy metal music on your computer is to choose your DAW, or digital audio workstation. This is the software you’ll use to create and edit your tracks. There are a lot of different options out there, but some of the most popular ones for metal are Reaper, Logic Pro X, and Pro Tools.
Once you’ve chosen your DAW, it’s time to start thinking about the instruments you’ll need to create your tracks. Most metal songs feature guitars, bass, drums, and vocals. You can create all of these tracks yourself with MIDI instruments, or you can record live instruments and edit them later.
If you’re going to be recording live instruments, it’s important to have a good quality microphone and audio interface. This will ensure that your tracks sound clear and professional.
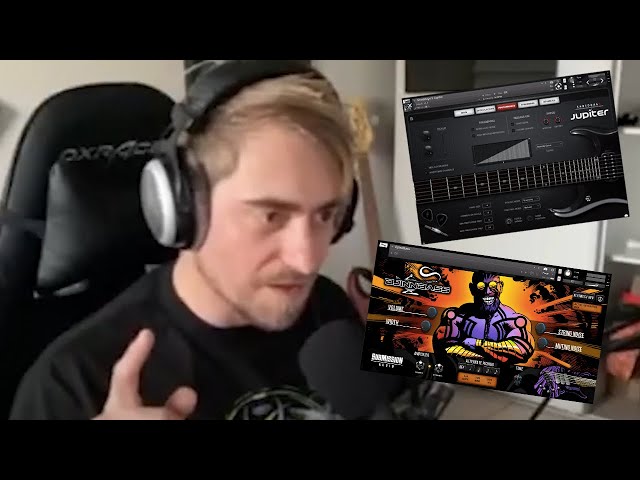
Step Two: Choose Your Plugins
Now that you’ve got your DAW set up, it’s time to choose the plugins you’ll need to create killer heavy metal tracks. Here are some of our favorites:
-Guitar: Toontrack Superior Metal
-Bass: NI Massive
-Drums: Addictive Drums 2
-Vocals: Waves Metal vocals
With these plugins, you’ll have everything you need to create huge, crushing metal tracks. So fire up your DAW and let’s get started!
Step Three: Create a Drum Track
Now it’s time to get the beat going with a drum track. You can create your drum track using any kind of drum software or sampler, but for this example we’ll be using EZdrummer 2.
EZdrummer 2 is a drum plugin that makes it easy to create realistic, human-like drum tracks. It comes with a huge library of audio samples that you can use to create your own drum tracks, or you can use the built-in step sequencer to create your own beats.
To create a drum track using EZdrummer 2, first load the plugin into your DAW. Then click on the “Drums” tab at the top of the interface and select the “Kick” instrument. Next, click on the “Patterns” tab and select a kick drum pattern that you like.
Now it’s time to add some bass. Click on the “Bass” tab and select the “Bass Guitar” instrument. Then click on the “Patterns” tab and select a bass guitar pattern that you like.
Finally, add some cymbals by clicking on the “Cymbals” tab and selecting the “Crash Cymbal” instrument. Then click on the “Patterns” tab and select a cymbal pattern that you like.
Now that you have all of your instruments set up, it’s time to start creating your drum track. Click on the play button at the top of the interface to start playback, then use your MIDI controller to trigger each instrument according to its respective pattern.
Step Four: Create a Bass Track
Now that you have your guitar tracks recorded, it’s time to add a bass guitar. The bass is important in metal music because it provides the low end frequencies that give the music its power.
To create a bass track, you will need:
-Bass guitar
-A computer with an audio interface and recording software
Connect your bass guitar to the audio interface using an instrument cable. Open your recording software and create a new track for the bass. Select the input for your audio interface and arm the track for recording.
Now you can play along with your guitar tracks and record the bass part. Be sure to keep the volume of the bass turned down so it doesn’t overpower the guitars. When you’re finished, export the track as an .wav file and save it to your computer.
Step Five: Create a Guitar Track
Now that you have your drum track set up, it’s time to add a guitar. If you don’t have a real guitar, you can use a guitar VSTi plugin like the one that comes with FL Studio.
First, select the guitar sound you want to use. If you’re not sure which one to choose, start with a clean electric guitar sound. You can always add distortion later if you want to make your sound heavier.
Once you’ve selected your sound, it’s time to start recording your guitar track. To do this, arm the track for recording by clicking the record button (it looks like a red dot) next to the track name. Then, press the play button and start playing your guitar part.
When you’re finished recording, press the stop button. You can then listen back to your performance and edit it if necessary.
Step Six: Create a Vocal Track
Now you will create a vocal track. Start by finding a software program that you can use to record your voice. There are many free programs available online, or you can purchase a program like Pro Tools or Logic Pro.
Once you have found a recording program, open it up and create a new track. Then, set up your microphone and hit record! Start by singing the main melody of your song. Once you have the main melody down, you can start adding in harmony parts and other embellishments.
If you are not comfortable singing yourself, you can always hire a professional singer to record vocals for your song. Once you have your vocal track recorded, you can move on to Step Seven.
Step Seven: Mix and Master Your Track
Now that you have recorded all of your instruments and vocals, it is time to mix and master your track. This is the process of making sure all of the elements of your song sound good together and creating a polished, finished product.
There are two parts to mixing: mixing the instruments together and mixing the vocals. To mix the instruments, you will need to adjust the levels of each instrument so that they are balanced with each other. For example, you might want the guitar to be louder than the drums. You will also need to EQ each instrument so that it fits well with the rest of the song. EQ is short for equalization and is a way to adjust the frequency range of an instrument. For example, if an instrument sounds too tinny, you can use EQ to make it sound fuller.
Once you have mixed the instruments together, it is time to mix the vocals. This process is similar to mixing instruments, but you will also need to pay attention to things like reverb and delay. Reverb is an effect that simulates the sound of an instrument echoing in a room, and delay is an effect that repeats an instrument over time. Both of these effects can help give your vocals more depth and character.
Once you have mixed both the instruments and vocals together, you will need to master your track. Mastering is the process of ensuring that your track sounds its best when played on different devices (such as speakers or headphones). This involves adjusting things like volume, EQ, and compression. Compression is a way to reduce the dynamic range of a track, which can make it sound louder and more consistent.
Mastering can be a complex topic, but there are some great resources out there (such as tutorials on YouTube) that can help you get started.
Conclusion
In conclusion, there are many ways to create heavy metal music on your computer. You can use a variety of software programs to create the perfect song, or you can simply use your own creativity and imagination. There are no rules when it comes to creating heavy metal music, so feel free to experiment and have fun.