How to Use an Excel Spreadsheet to Create Heavy Metal Music
Contents
A step-by-step guide on how to use an Excel spreadsheet to create heavy metal music.
Introduction
Are you a fan of heavy metal music? Do you ever find yourself wondering how the musicians create such thunderous sounds? Well, wonder no more! It turns out that you can use an Excel spreadsheet to create heavy metal music.
Here’s how:
1. First, open up a new Excel spreadsheet.
2. Next, select the cells that you want to use for your heavy metal song.
3. Now, go to the “Data” tab and click on the “Filter” button.
4. In the “Filter” menu, select the “No Filter” option. This will allow you to hear all of the cells in your spreadsheet at once.
5. Next, go to the “Home” tab and click on the “Font” drop-down menu. From here, select a heavy metal-themed font, such as “Gothic” or “Metal”.
6. Now, it’s time to add some bass! To do this, go to the “Insert” tab and click on the “Object” button. In the “Object” menu, select the “Wave Sound” option. This will insert a sound file into your spreadsheet. Next, double-click on the sound file and select a bass-heavy song or sound effect that you want to use for your heavy metal tune.
7. Finally, it’s time to add some volume! To do this, go to the “Home” tab and click on the “Cell Styles” button. In the “Cell Styles” menu, select the “Quick Styles” option and then choose the “Good Intentions – Loud Volume” style from the list of options. This will make all of your cells play at a much louder volume than before!
8. That’s it! You’ve now created your very own heavy metal song using an Excel spreadsheet
Step One: Choose Your Instruments
Now that you have your basic heavy metal band set-up, it’s time to choose what instruments you want to include. Do you want guitars? A bass? Drums? Synthesizers? Once you know what instruments you want in your band, it’s time to start thinking about sound.
Do you want a clean sound or a distorted one? What tempo are you going for? What kind of mood do you want to create? If you’re not sure, don’t worry! You can always come back and change things later. For now, just choose the instruments that you think will best suit the sound you’re going for.
Step Two: Choose Your Tempo
Once you’ve got your rhythm section down, it’s time to choose your tempo. This will determine the overall feel of your song. If you want a fast, aggressive song, you’ll want to choose a faster tempo. If you want a slower, more atmospheric song, you’ll want to choose a slower tempo.
For this example, we’ll go with a moderate tempo of 120 beats per minute (bpm). To set the tempo in Excel, just go to the “View” tab and click on the “Tempo” drop-down menu. Then select the “Medium” option.
Step Three: Choose Your Key
In order to create your spreadsheet, you will need to choose a key. The key is the starting note of your piece. From this note, all of the other notes in your composition will be based. You can choose any note you like, but if you want your piece to sound like “traditional” heavy metal, you will want to use a note in the minor key. The three most popular minor keys for heavy metal compositions are E minor, A minor, and D minor. Of these keys, E minor is used the most often.
Step Four: Write Your Riffs
Now that you have your heavy metal drum track, it’s time to write your riffs. If you’re not sure how to write a riff, don’t worry – there are plenty of resources online that can help you out. Once you’ve written your riff, simply enter it into the spreadsheet in the “Riffs” tab. Make sure to label each riff so you know which one is which.
Once you have all of your riffs entered, it’s time to start putting them together into a song. In the “Song Structure” tab, start by entering the number of measures (16 for a typical 4/4 song) for each section of the song. Then, in the columns next to each section, enter the riffs you want to use in that section. You can repeat riffs if you want, or just use one riff for the entire section – it’s up to you.
Once you have your song structure worked out, it’s time to add in some transitions between sections. In the “Transitions” tab, enter the measures you want your transitions to happen in (usually between 2 and 4 measures). Then, in the columns next to each transition measure, enter the riffs you want to use for each transition. Again, feel free to repeat riffs or use just one – it’s up to you.
And that’s it! You now have a fully-fledged heavy metal song that you can play back using your Excel spreadsheet. Of course, there’s always room for improvement – so don’t be afraid to experiment with different sounds and structures until you find something that really works for you.
Step Five: Record Your Music
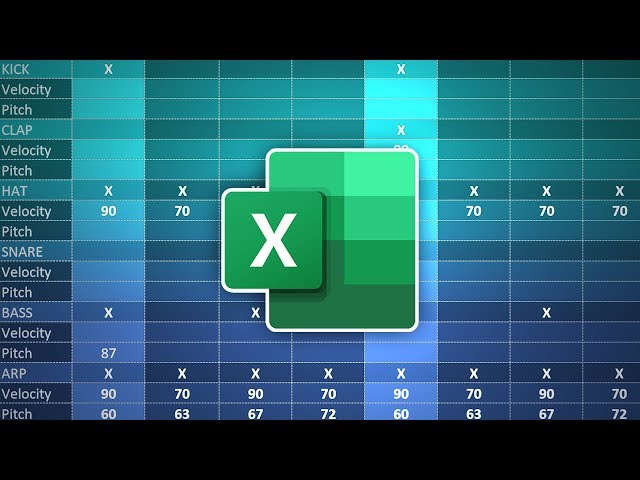
Now that you have your heavy metal spreadsheet set up, it’s time to start recording your music. hit the “record” button on your spreadsheet program and start playing your music. As you play, the spreadsheet will automatically create a visual representation of the music.
Once you’re done recording, hit the “stop” button and save your file. You can now share your file with other excel users, or even convert it into a PDF so that non-excel users can enjoy your music as well.
Conclusion
In conclusion, you can use an Excel spreadsheet to create heavy metal music. You can use conditional formatting to create the right rhythms, and you can use the fill tool to create the right sounds. With a little practice, you’ll be able to create metal tracks that will make your friends headbang!