How to Make Dubstep in Music Creator 7

Contents
Learn how to make dubstep in Music Creator 7 by following these simple steps. With this easy to follow guide, you’ll be creating your own dubstep tracks in no time.

Introduction
In this guide, we will show you how to make dubstep in Music Creator 7.Dubstep is a genre of electronic dance music that originated in South London in the late 1990s. It is characterized by sparse, syncopated rhythmic patterns with prominent sub-bass frequencies.
What You Will Need
-1 copy of Music Creator 7
-1 computer running Windows 7 or higher/Mac OS 10.6 or higher
-1 set of speakers or headphones
Dubstep is a genre of electronic dance music that originated in South London in the late 1990s. It is generally characterized by sparse, syncopated drum and percussion patterns with bass lines that contain prominent sub-bass frequencies.
Step One: Choose Your Tempo
The first step to making dubstep in Music Creator 7 is to choose your tempo. Dubstep is typically between 140 and150 BPM, so we recommend starting in the middle at 145 BPM. To change the tempo in Music Creator 7, press the “Tempo” button in the upper left-hand corner and type in your desired BPM.
Now that you’ve chosen your tempo, it’s time to move on to step two and select your drums.
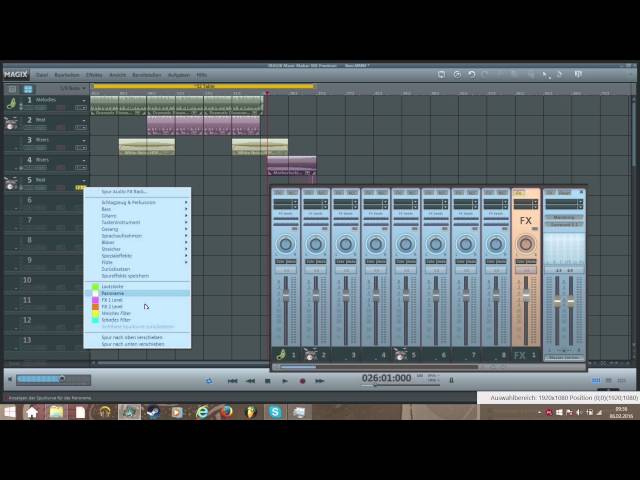
Step Two: Add a Drum Loop
Now that you have your basic track, it’s time to add some drums. For dubstep, you’ll want to use a heavily processed and distorted drum loop. You can find a lot of good drum loops online, or you can create your own using a drum machine or sampler.
Once you’ve found or created a good drum loop, load it into Music Creator 7 and drag it onto one of the tracks. You’ll probably want to use the subwoofer track for the bass drums, and the main track for the snare and hi-hats.
Now that your drum loop is in place, you can start adding other elements to flesh out your dubstep track.
Step Three: Add a Bassline
Create a new part by clicking the ‘+Part’ button in the center of the loop view, then click on the part to open up its settings. From here you can select an instrument for the part – we’re going to use ‘Bass 1 (82)’.
Step Four: Add a Lead Synth
Now that you’ve added a bassline and some drums, it’s time to add a lead synth to your dubstep track. In Music Creator 7, we’ll be using the Threat Synth.
1. Click on the ‘Add Track’ button and select ‘Lead Synth’ from the drop-down menu.
2. In the ‘Instrument Options’ window, select ‘Threat Synth’ from the list of available instruments.
3. Click on the ‘OK’ button to add the track to your project.
4. By default, the Threat Synth is set to a sawtooth waveform. Click on the drop-down menu next to the ‘Waveform’ knob and select ‘Square Wave’ from the list of available waveforms.
5. Next, click on the node next to the oscillator 1 pitch knob and drag it up an octave (12 semitones).
6. The Threat Synth has two filters that can be used independently or in series. We want to use both filters in ourlead synth sound, so click on the node next to ‘Filter 1 Cutoff’ knob and drag it all the way down to zero Hz. Then, click onthe node next to ‘Filter 2 Cutoff’ knob and drag it up an octave (12 semitones).
7. Finally, add some resonance (Q) to both filters by clicking onthe node next to each ‘Resonance (Q)’ knob and dragging it up towaards 10kHz.
8. Now that you’ve got your lead synth sound dialed in, it’s time tomove on to step five and add some effects!
Step Five: Add Effects
The last step to making your dubstep track is to add effects. In Music Creator 7, there are a variety of effects you can use to make your track sound even more professional. To access the effects, click on the “Effects” tab in the upper left-hand corner of the screen.
From here, you can add reverb, delay, Echo, Phaser, and Flanger effects. experiment with different combinations of these effects to see what sounds best with your track. When you’re finished adding effects, click on the “Mastering” tab in the upper right-hand corner of the screen to finalize your track.
Step Six: Export Your Track
After you have mixed and mastered your track, you are ready to export it. In Music Creator 7, you can export your track as an MP3, WAV, or AIFF file.
To export your track, go to File > Export > Audio. A dialog box will appear.
In the “Export Type” drop-down menu, select the file type that you want to export your track as. If you are unsure which file type to choose, we recommend exporting as an MP3 or WAV file.
Next, select the location that you want to export your track to. You can either choose to export your track to a folder on your computer, or you can create a new folder by clicking the “Create Folder” button.
Once you have selected the file type and location for your exported track, click the “Export” button. Your track will now be exported as an MP3, WAV, or AIFF file!