How to Add a Pop Out Music Player to Your Website
Contents
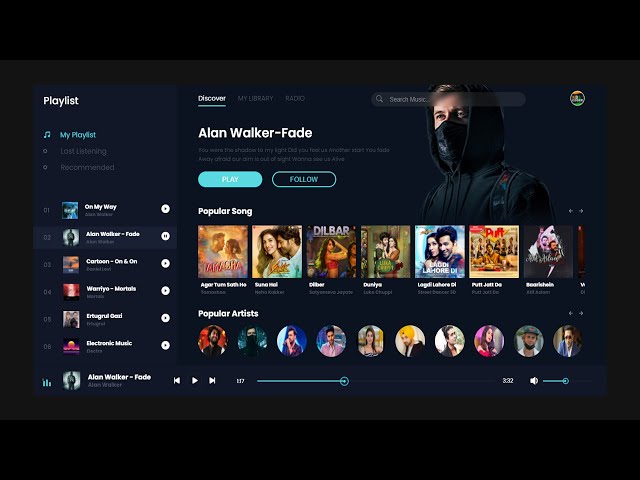
Looking to add some extra personality to your website? A pop out music player is a great way to do it! In this post, we’ll show you how to add a pop out music player to your website using HTML and CSS.
Introduction
Adding a pop out music player to your website can be a great way to improve the user experience for your visitors. By having a music player that is easily accessible and visible, you can encourage visitors to stay on your site longer and listen to your music. In this article, we will show you how to easily add a pop out music player to your WordPress website.
What You’ll Need
To add a pop out music player to your website, you’ll need:
-A web hosting account
-An FTP client
-A text editor
-A pop out music player (like the one from www.musicplayerworld.com)
Once you have all of these things, you can proceed with adding the music player to your website.
Adding the Pop Out Music Player to Your Website
Adding the Pop Out Music Player to Your Website
If you want to add a pop out music player to your website, there are a few ways you can do it. One way is to use an HTML5 audio player, which will allow users to play audio files directly on your web page. Another way is to use a Flash-based player, which can be embedded in your web page.
One of the most popular HTML5 audio players is the Audio controls example from W3Schools. To use this player on your web page, you first need to download the audio player files from W3Schools. Next, unzip the downloaded file and upload the “audio-player.js” file to your web server. Once you have done this, you can then embed the audio player in your web page using the following code:
var myPlayer = new AudioPlayer();
myPlayer.setAudioPath(“audio/”);
myPlayer.setMarketingText(“My Awesome Music Player”);
myPlayer.setArtwork(“images/album-artwork.jpg”);
myPlayer.addTrack(“song1”, “My First Song”);
myPlayer.addTrack(“song2”, “My Second Song”);
myPlayer.addTrack(“song3”, “My Third Song”);
document.getElementById(“my-player”).innerHTML = myPlayer.getHTML();
Customizing the Pop Out Music Player
Now that you have the Pop Out Music Player working on your website, you might want to customize it to match the look and feel of your site. The first thing you’ll need to do is download the player files from the link below.
Once you have the player files, open the “player.js” file in a text editor and look for the following lines of code:
var playerWidth = “250”;
var playerHeight = “250”;
These lines define the width and height of the player. You can change these values to any width or height you want. For example, if you wanted the player to be 400 pixels wide and 300 pixels tall, you would change the above lines to this:
var playerWidth = “400”;
var playerHeight = “300”;
Save your changes and upload the modified “player.js” file to your website. Now when you load a page with the Pop Out Music Player on it, the player will be the new size you specified.
Conclusion
Now that you know how to add a pop out music player to your website, you can create a more engaging experience for your visitors. By using an external music player, you can add interest and variety to your site without having to rely on ads or other intrusive elements. If you choose to use a pop out music player, be sure to test it on all devices and browsers to ensure that it works as intended.