How to Create the Perfect Volume Bar for Dubstep Music
Contents
If you’re a dubstep producer, then you know that creating the perfect volume bar is essential to getting the perfect sound. In this blog post, we’ll show you how to create the perfect volume bar for your dubstep music.
Introduction
In order to create the perfect volume bar for dubstep music, you’ll need to find the right software and hardware. The software you’ll need is a good music editing program that allows you to create volume bars. The hardware you’ll need is a good set of speakers and a powerful subwoofer. You’ll also need a lot of patience and a good ear for detail.
Once you have all of the necessary software and hardware, the next step is to find some good dubstep music. You can find this online or by visiting your local record store. Once you’ve found some good dubstep music, it’s time to start creating your volume bars.
The first thing you’ll need to do is open up your music editing software and load the dubstep track into it. Once the track is loaded, you’ll want to listen to it carefully and identify the parts of the song that are the busiest. These are the parts of the song that will require the most volume in order to sound good.
Once you’ve identified the busiest parts of the song, it’s time to start creating your volume bars. To do this, simply click on the “Create Volume Bar” button in your music editing software. This will bring up a dialog box where you can enter the following information:
-The name of the dubstep track
-The length of the track
-The maximum volume level
-The minimum volume level
-The number of bars you want to create
-The placement of each bar (left, right, or center)
-The width of each bar
After you’ve entered all of this information, simply click “OK” and your software will create the perfect volume bars for your dubstep track!
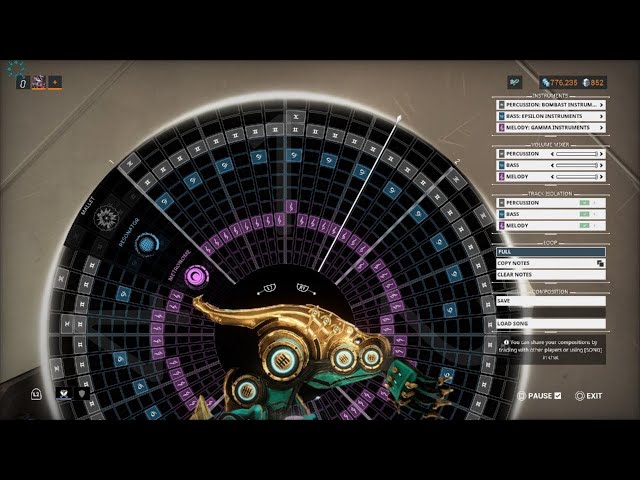
What is a volume bar?
This is essentially a graphic equalizer that allows you to see exactly how much sound is being produced at various frequencies. This is important for dubstep producers because it allows them to fine-tune their mix and ensure that the bass is being properly reproduced.
There are a few things to keep in mind when creating a volume bar for dubstep music. First, you want to make sure that the graphic equalizer is set up properly. This means that each band should be wide enough to show the full range of frequencies that are being reproduced.
Second, you want to make sure that the bands are spaced properly. The spacing should be such that each band represents a true octave. This will allow you to more accurately hear how the bass is being reproduced.
Third, you want to make sure that the bands are set at the proper level. The level should be such that the bass is clearly audible, but not so loud that it drowns out the other elements of the music.
Finally, you want to make sure that the volume bar is calibrated properly. This means setting it so that the zero point on the volume bar corresponds to the actual volume of your dubstep track. If it isn’t calibrated properly, then you won’t be able to get an accurate representation of how loud the bass is in your track.
How to create a volume bar
In order to create the perfect volume bar, you will need to have the following things: a laptop, speakers, an audio editing program, and a sound system.
Step 1: Choose the right software
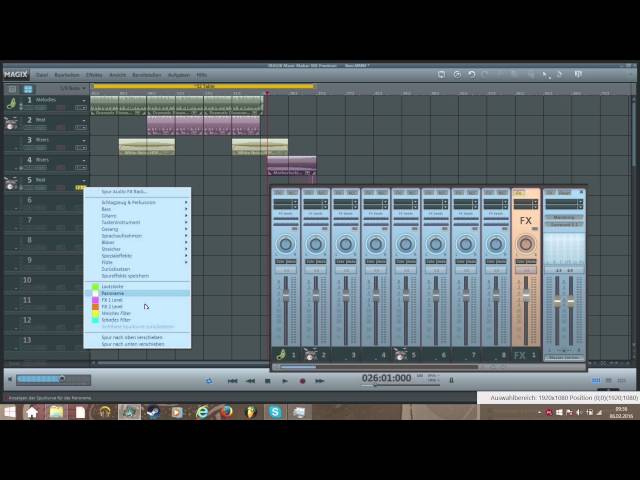
The first step in creating a volume bar is to choose the right software for the job. There are many different options available, but for this tutorial we will be using FL Studio 12.0.3.
Once you have FL Studio installed, open it up and create a new project. You should see a screen that looks something like this:
In the top left corner of the window, you will see a column of controls labeled “Number.” This is where you will enter the number of bars that you want in your volume bar. In this example, we will be using 8 bars.
Next to the Number control is a column labeled “Denominator.” This is where you will enter the number of beats per bar. In dubstep music, it is common to use 4/4 time, which means that there are 4 beats per bar.
Once you have entered the number of bars and beats per bar, press the “Create” button in the bottom right corner of the window.
Step 2: Set up the audio
Now that you’ve got your sound system set up and working properly, it’s time to set up the audio for your volume bar. You’ll need two audio files for this: a dubstep track and a sound effect. The dubstep track will be the main track that plays in the background, and the sound effect will be used to trigger the volume bar animation.
There are a few things to keep in mind when choosing your audio files:
– Make sure the dubstep track is high-quality and at least 3 minutes long.
– The sound effect should be short (under 10 seconds) and sharp, like a drum hit or cymbal crash.
– It’s also a good idea to fade out the end of the dubstep track so it doesn’t suddenly stop playing in the middle of your animation.
Step 3: Create the volume bar
3. In your DAW, create a software instrument track and load in your favorite synth plugin. I’m using Massive for this tutorial. If you don’t have a plugin that can create epic bass sounds, check out my guide to the best free VST synths.
4. Play a note on your MIDI keyboard and hold it down. Then use the pitch bend wheel to add some movement to the sound.
5. Adjust the attack and release parameters on your synth so the sound fades in and out slowly.
6. Create a new audio track and record your synth part into it.
7. In your DAW, insert a limiter plugin on the master channel and set the threshold so it’s just barely limiting the signal. This will ensure that your volume levels are consistent throughout the song and prevent clipping.
8. Add a dynamics processor plugin to the master channel and set it to compress the signal by 3-5 dB. This will make your song sound fuller and increase its overall loudness without destroying the punch of your bass drums or distorting the sound of your synths.
9. Add an EQ plugin to the master channel and boost the low frequencies by 3-5 dB. This will make your dubstep song sound heavier and more powerful.
10. Play back your song and adjust the volume of each track so everything is balanced properly. Pay special attention to the levels of your bass drums, synths, and vocals—these should be sitting slightly above the rest of the mix for most dubstep songs
Step 4: Export the file
Now that you’ve created your volume bar, it’s time to export the file. To do this, go to File > Export > Export As. In the format drop-down menu, select WAV. In the “Save as type” drop-down menu, select 32-bit float. Finally, click Export and choose a location to save your file.
Conclusion
Now that you know the basics of how to create a volume bar, you can experiment with different techniques to find what works best for you. Remember that there is no one perfect way to do this, so feel free to be creative and have fun with it!