The Best Free Dubstep Music Visualizer
Contents
The best free dubstep music visualizer is an HTML5 audio player that is responsive and easy to use. It has a wide range of options including colors, fonts, and animations.
Introduction
The best free dubstep music visualizer is a program that helps you create audio visualizations. These visualizations can be played back on any media player, such as Windows Media Player or iTunes. If you have ever played an audio file on your computer and seen the waveform move up and down in time with the music, then you have seen a basic audio visualization.
Some dubstep music visualizers also include features such as beat detection and equalizer settings. These features allow you to customize the visualization to better suit your taste. There are also a few dubstep music visualizers that come with built-in playlist support, so you can easily keep track of your favorite tunes.
What is a Dubstep Music Visualizer?
A Dubstep Music Visualizer is a type of audio player that produces images or patterns based on the music that is playing. The visualizations change in real-time as the music changes, giving the viewer a unique and dynamic experience. There are many different types of visualizations, and each one has its own look and feel. Some visualizations are simple, while others are complex and detailed. Some are static, while others are animated. No matter what type of Dubstep Music Visualizer you choose, you’re sure to have a unique and visually stunning experience.
How to Use a Dubstep Music Visualizer
Dubstep music visualizers are a great way to add some flair to your music. They can be used to create unique and interesting visualizations of your music, and can be customized to fit your specific needs. Here’s a step-by-step guide on how to use a dubstep music visualizer.
1. Choose your audio input. You can use any audio source that you like, including an MP3 file, an audio CD, or even a live microphone input.
2. Choose your visualization settings. There are a number of different settings that you can use to customize the look of your visualizations. You can change the color scheme, the size and position of the visualization, and even the type of visualization itself.
3. Start playing your audio input. The dubstep music visualizer will start automatically generating visuals based on the music that you’re playing.
4. Adjust the visuals as needed. If you want to make changes to the way that the visuals are being generated, you can do so by adjusting the settings in the dubstep music visualizer.
5. Enjoy your newly created dubstep music visualizations!
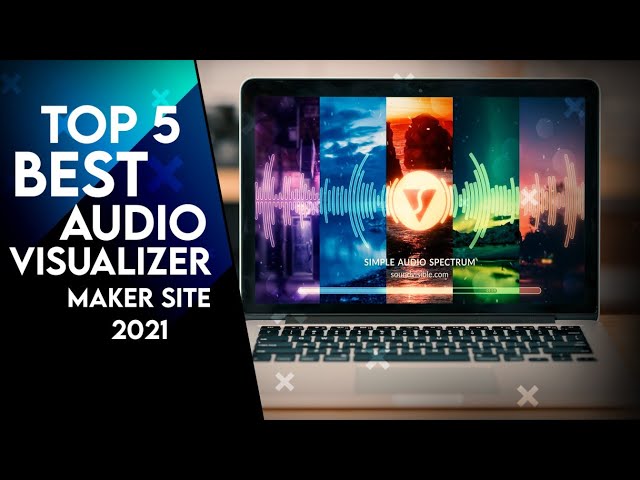
Best Free Dubstep Music Visualizers
There are a ton of free dubstep music visualizers out there, but which ones are the best? Here’s a list of our favorites:
-Equalizer APO
-audio spectrum music visualizer
-G-Force Music Visualizer
-MilkDrop 2
-VSXu Artiste
How to Create a Dubstep Music Visualizer
A Dubstep music visualizer is a great way to add some flair to your music. These visualizers can be used to spice up your presentations, or even just to add a little bit of fun to your music. Creating a Dubstep music visualizer is actually quite simple, and there are a few different ways that you can go about doing it.
The first thing that you need to do is find a good Dubstep song that you want to use as the basis for your visualizer. Once you have found a song, you need to download it and then open it up in an audio editing program. I recommend using Audacity, as it is free and very easy to use.
Once you have the song open in Audacity, you need to find the part of the song that you want to use for your visualizer. This is usually the drop, or the part of the song where the beat really kicks in. Once you have found the section that you want to use, highlight it and then click on the “Generate” menu at the top of the screen. From here, select “Tone.”
This will bring up a new window where you can change the settings for your tone. The first thing that you need to do is change the wavelength to 0.5 seconds. This will ensure that your tone is only playing for half a second at a time. Next, change the waveform to “square” and then click on “Generate.”
Your tone should now be generated and playing back in Audacity. The next thing that you need to do is export this tone so that you can use it in your video editing program. To do this, go back to the “File” menu and select “Export.” Choose “WAV” as your file type and then give your file a name and save it somewhere on your computer.
The last thing that you need to do is import your tone into your video editing program (I recommend Sony Vegas Pro). Once you have imported it, drag it down onto one of your video tracks and line it up with the drop in your song. You can then add some other effects (such as color correction) to make it look even more amazing!
Conclusion
There you have it, the best free Dubstep music visualizer for your PC. We hope you enjoyed this article and found the visualizer that best suits your needs. If you have any questions or suggestions, feel free to leave a comment below.