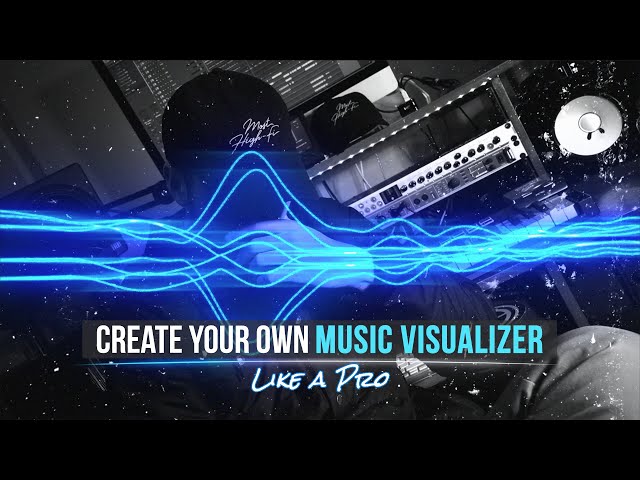
How to Create a Dubstep Music Visualizer
Contents
In this tutorial, learn how to create a Dubstep Music Visualizer in After Effects. This project file uses theAudio ReactiVizor.

Introduction
In this tutorial, we’ll be creating a dubstep music visualizer in After Effects. This will include creating patterns with shapes, and realistically animating them to realistically bounce and fall. By the end of this tutorial, you should have a better understanding of how to create and animate your own dubstep music visualizer.
What is a Music Visualizer?
A music visualizer is an audio-reactive video that is generated by musical data. The visuals are usually generated by a software program, and can be displayed on a screen or monitor. Music visualizers are often used by DJs, VJs, and musicians to enhance their live performances.
There are many different types of music visualizers, but the most common type is the spectrum analyzer. Spectrum analyzers analyze the frequencies of the music and create visuals that correspond to those frequencies. Other types of music visualizers include MIDI controllers, waveform generators, and particle emitters.
Creating a dubstep music visualizer is a great way to enhance your live performances. Dubstep is a genre of electronic dance music that is characterized by heavy basslines and frantic beats. When you combine dubstep with visuals, you can create an immersive and exciting experience for your audience.
There are a few things you need to know before you start creating your dubstep music visualizer. First, you need to choose the right software program. Second, you need to find or create high-quality audio files. And third, you need to have patience and practice!
How to Create a Music Visualizer
A music visualizer is a great way to visualize your favorite songs. You can use them to create cool visuals for your music, or to create a unique visual for your favorite songs. In this tutorial, we will show you how to create a dubstep music visualizer.
Step 1: Choose your audio file
The first step to creating a music visualizer is to choose the audio file that you want to use. Any file type that can be imported into Adobe After Effects can be used. For this tutorial, we will be using a dubstep song called “Drop the Bass” by JAKOBSOUND.
You can find the song on YouTube or any other music streaming site. Once you have found the song, download it or rip it from the website so that you have a local copy on your computer.
Step 2: Choose your visuals
You have a few different options when it comes to visuals, and it really depends on what you want your final product to look like. You could go with a basicDefault type of visualizer, which is just a simple graphic that reacts to the music. Or, you could get more creative and use an Animated GIF Maker or even create your own custom visuals using Adobe After Effects.
For this tutorial, we’re going to be using the default visualizer in Windows Media Player because it’s simple and easy to use.
Step 3: Customize your settings
In the “Settings” window, you can adjust the following settings:
-Visualizer Type: You can choose between a spectrum analyzer and an oscilloscope.
-Input Device: Choose the input device that you want to use. If you’re not sure which one to choose, try selecting “Default.”
-Display Mode: There are four different display modes: “Normal,” “Widescreen,” “Fullscreen,” and “Circle.”
-Color Scheme: You can choose between a variety of different color schemes.
-Background Image: You can choose to have a background image displayed behind the visualizer.
Conclusion
You have now learned how to create a dubstep music visualizer using the powerful Unity engine. You began by importing assets and setting up your scene. You then added some powerful Amplitude effects to your audio track. Finally, you added some awesome particle effects to create a truly stunning dubstep music visualizer.