How to Assemble the Eddie Bauer Musical Rocking Bassinet
Contents
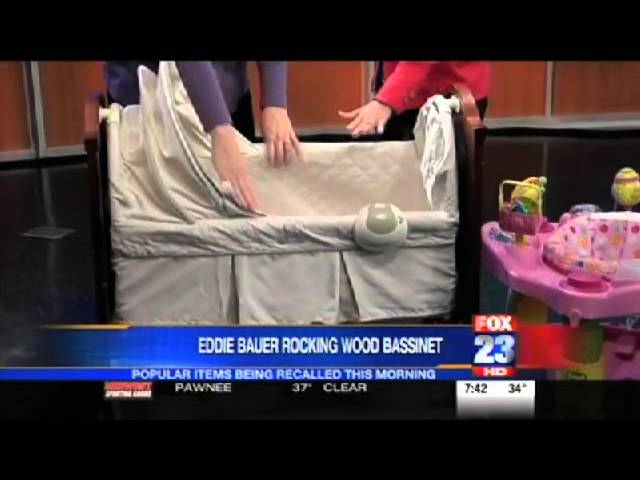
Looking for a quality bassinet that will soothe your little one? Check out the Eddie Bauer Musical Rocking Bassinet! This bassinet features a gentle rocking motion and calming music to help your baby drift off to sleep. Plus, it’s easy to assemble so you can get it set up and ready to go in no time.

Introduction
Whether you’re a first-time parent or have a few children running around already, the Eddie Bauer Musical Rocking Bassinet is an essential piece of baby furniture. This simple guide will show you how to put it together so that you can start using it as soon as possible.
What You’ll Need
– Eddie Bauer Musical Rocking Bassinet
– #2 Phillips screwdriver
– adjustable wrench
– Step ladder (optional)
Step One: Preparing the Base
Before beginning assembly of your new Eddie Bauer Musical Rocking Bassinet, please take a moment to ensure that all parts are present and accounted for. You should have:
One (1) bassinet base
One (1) set of caster wheels
One (1) canopy
One (1) set of drapes
One (1) mattress support frame
One (1) mattress
One (1)-4 land mobile radios
-Locate the bassinet base. This is the large, round bottom piece of the bassinet. All other parts will attach to this base.
-Find the caster wheels. There should be four (4), each still in its plastic packaging. These will be attached to the bassinet base to make it easier to move around your home.
-Locate the canopy. This is the fabric top that will drape over the top half of the bassinet, providing shade and protection for your baby. It will attach to the top of the bassinet frame.
-Find the set of drapes. These will attach to the bottom half of the canopy, and can be left open or closed, depending on your preference.
-Now locate the mattress support frame. This is a metal frame that helps keep the mattress in place inside the bassinet. It will also attach to the top of the bassinet base.
-Finally, locate the mattress itself. This should be a thin, rectangular piece of foam covered in fabric. It will fit inside the mattress support frame once assembly is complete
Step Two: Assembling the Sides
Using the two side panels and the eight screws provided in your hardware kit, attach the side panels to the base as shown. Make sure that the two slots in each side panel are positioned over the locking tabs on the base, then use your Phillips screwdriver to tighten the screws until they are snug. Be careful not to overtighten, as this could strip the threads.
Step Three: Attaching the Hood
Now it’s time to attach the hood. Start by lining up the two arms of the hood with the slots on either side of the bassinet. Then, push the arms down into the slots until they click into place.
Step Four: Adding the Mattress
Place the mattress in the bassinet. Be sure that the tag on the mattress is facing up and that the mattress is centered in the bassinet. The top of the mattress should be even with the top of the bassinet sides. If it is not, remove the mattress and reposition it.
Step Five: Final Touches
Now that you have completed steps one through four, it is time for the final touches. In step five, you will need to add the batteries and install the Eddie Bauer Musical Rocking Bassinet according to the manufacturer’s instructions.
Adding batteries:
1.Open the battery compartment door located on the back of the bassinet.
2.Insert four “D” batteries into the battery compartment, making sure that the plus and minus symbols match up with the symbols on the inside of the compartment.
3.Close the battery compartment door.
4.Turn on the musical unit by pressing the “on” switch located on the top of the unit. You should see a green light appear on the front of the unit.
Installing the Eddie Bauer Musical Rocking Bassinet:
1.Place the bassinet in a level location close to an electrical outlet. Do not place near heat sources such as fireplaces or radiators.
2.Using two people, lift one side ofthe bassinet and insertthe provided metal bracketinto thenotch atthe top ofthe wooden upright post, as shown in Figure 1 below. The bracket should be flush withthe post whentightened securely usingthe includedscrews andwashers. Repeaton remaining side
8.Conclusion
Your baby’s bassinet is now complete! You can rock your little one to sleep in style, knowing that you’ve made a beautiful and safe piece of nursery furniture.