How to Make an Electronic Dance Music Poster
Contents
If you’re into electronic dance music, then you know that having a killer poster is essential to getting people to come to your event. But what makes a good EDM poster? In this blog post, we’ll give you some tips and tricks on how to make an EDM poster that will get people pumped up and ready to party all night long!

Introduction
In this guide, we will be teaching you how to make an electronic dance music poster. This guide is perfect for those who are new to the EDM scene and want to learn how to make their own posters to promote their events. We will be covering everything from finding inspiration to designing and printing your poster. By the end of this guide, you will have all the knowledge you need to make an amazing EDM poster of your own!
What You Will Need
-Adobe Photoshop
-A high-resolution photo of your chosen DJ or artist
-The name of the DJ or artist in a bold font
-The date, venue and time of the event in a clean font
[email protected] for any further questions
Step One: Choose Your Template
The first step in creating an electronic dance music poster is to choose your template. You can find a variety of templates online or in design software programs like Photoshop or Illustrator. Once you’ve chosen your template, open it in your design program and familiarize yourself with the tools and interface.
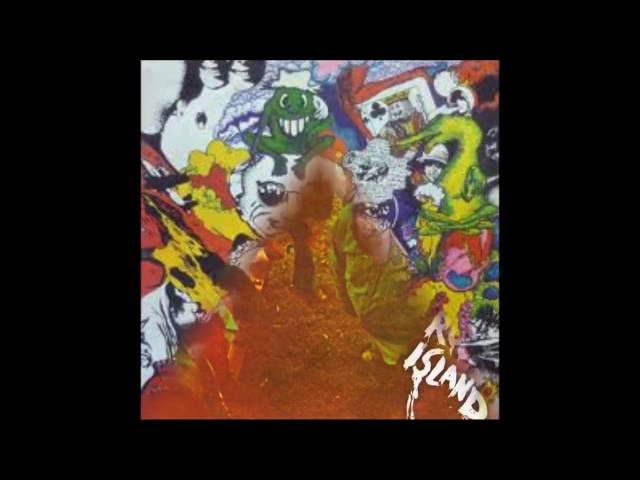
Next, you’ll need to select your background image. This can be a picture of the artist, a DJ, or a graphic related to the event. Once you’ve found an appropriate image, import it into your design program and position it on the canvas.
Now you’ll need to add text to your poster. Start by adding the name of the event, date, and location. Then, add any other relevant information like the lineup of DJs or other performers. Use some creativity when choosing fonts and colors for your text – make sure they complement each other and the overall look of the poster.
Once you’re happy with how your poster looks, save it as a high-resolution PDF or JPEG file and you’re ready to print!
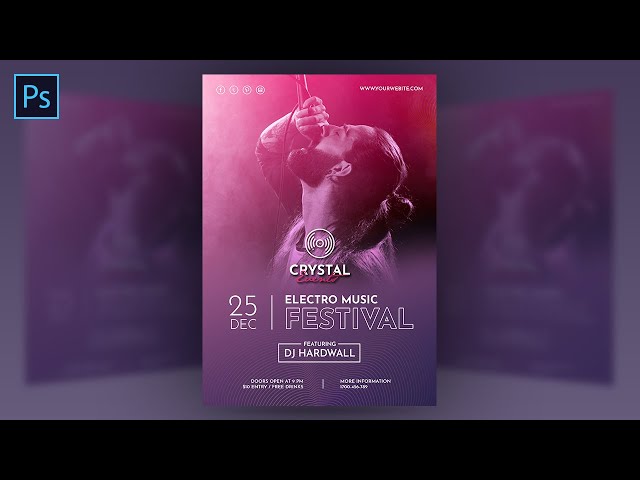
Step Two: Choose Your Background Image
Now that you have your text and images ready, it’s time to choose your background image. This is probably the most important part of the poster, as it will set the tone for the entire piece.
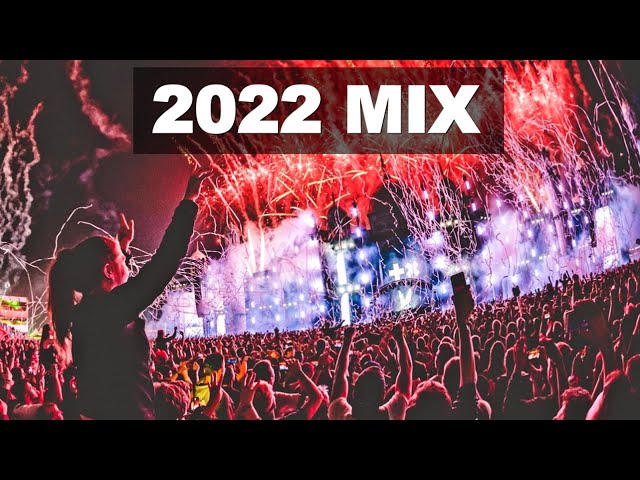
If you’re not sure what kind of background to use, think about the mood you want to convey. Is it a party poster? Then you might want to use a busy, colorful image with lots of movement. If it’s a more relaxed show, you might want to use a calm image with softer colors.
Once you’ve chosen your background image, open it in Photoshop (or your preferred editing program) and resize it to fit your canvas. Then, add your text and images on top of the background and position them however you like.
Step Three: Choose Your Fonts
Now that you have your images, it’s time to start thinking about the fonts you want to use. With so many options out there, choosing the right font for your project can be daunting. But fear not — we’re here to help.
Here are a few things to keep in mind when choosing fonts for your electronic dance music poster:
-The font should be legible at a distance. After all, people will be looking at your poster from across the room or even across the street.
-The font should be easy to read, even for those with less than perfect vision.
-The font should reflect the mood of the event. If you’re promoting a party that is all about having fun, you might want to use a playful font. If you’re promoting a more serious event, such as a music festival, you might want to use a more elegant font.
-Less is more. You don’t want to use too many different fonts on your poster — it will just look cluttered and confused. Stick to two or three fonts maximum.
Once you have an idea of what you’re looking for, take some time to browse through the thousands of fonts available online. When you find one you like, download it and install it on your computer. Then open up your design program and experiment with differentfont combinations until you find something that looks just right for your electronic dance music poster.
Step Four: Add Your Text
Now it’s time to add your text. You want to make sure that your text is readable, so be sure to use a sans serif font (a font without the little feet). A good rule of thumb is to use a font size that is two points larger than the body text on your website. For poster design, you also want to use a very light weight font so that it doesn’t overpower your images.
Once you have your text added, you can play around with the alignment and spacing until you have something that looks good. Remember, less is more when it comes to posters!
Step Five: Save and Export Your Poster
Now that you have everything the way you want it, it’s time to save your work so you can share it with the world. Click on “File” in the upper left-hand corner of the screen and select “Export.” A new window will pop up asking you to choose a file format for your poster. For printing, we recommend selecting either PDF or JPEG. You can also choose PNG if you want to share your poster online, but keep in mind that PNG files are generally much larger than JPEG or PDF files.
Once you’ve selected your file format, click “Export” and choose where you want to save your file. That’s it! You’re now ready to share your amazing electronic dance music poster with the world.
Conclusion
Now that you know the basics of how to make an electronic dance music poster, you can start creating your own. Keep these tips in mind as you work, and don’t be afraid to experiment to find what works best for you. With a little practice, you’ll be able to create stunning posters that will really make your event stand out.