How to Make Dubstep/Electronic Music
Contents
A guide on how to make Dubstep/Electronic Music. You will need a computer, keyboard, and some software.
Introduction
Electronic music is a genre of music that is produced using electronic musical instruments and recording equipment. It is a broad category that includes music created with analog and digital synthesizers, drum machines, and computer software, as well as music that incorporates live instruments and vocals.
Dubstep is a subgenre of electronic dance music that originated in the late 1990s in the United Kingdom. It is characterized by its heavy bass, synthetic sounds, and halftime rhythms.
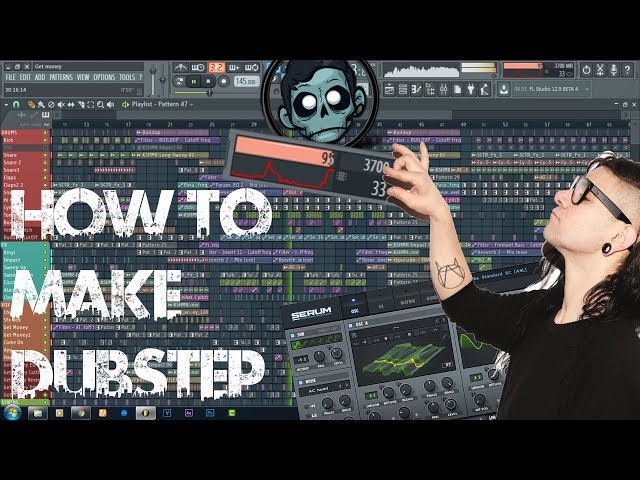
In this guide, we will show you how to make dubstep/electronic music using FL Studio 12.
What You Will Need
In order to make dubstep/electronic music, you will need the following:
-A computer with a stable internet connection
-A DAW (Digital Audio Workstation) – We recommend FL Studio, Logic Pro X, or Ableton Live
-Access to a wide variety of sound samples – We recommend Splice Sounds
-Synthesizers – We recommend Native Instruments’ Massive or Serum, or Arturia’s Analog Lab
-Drum machines – We recommend Drumazon or Geist 2
-EQ and compression plugins – We recommend iZotope’s Ozone 8 or Waves’ Cla Essentials
With these tools, you will be able to createprofessional-sounding dubstep and electronic music.
Step One: Choose Your Software
The first step in learning how to make dubstep is to choose your software. If you’re new to the world of music production, you may want to start with a free program like Audacity. Once you get more comfortable with the basics of music production, you can upgrade to a paid program like Ableton Live or Logic Pro.
Once you have your software set up, the next step is to choose your sound sources. Dubstep is usually made with two different types of sounds: drums and bass. You can use pre-recorded sounds, or create your own using synthesizers.
Once you have your sound sources, it’s time to start putting together your track. Start by creating a drum beat using your drum sounds. Then, add a bassline using your bass sounds. Once you have these elements in place, you can start adding other sounds like melodies and effects.
Dubstep tracks are usually around 140 bpm (beats per minute). Once you have all of your elements in place, you can start playing around with the tempo and timing to find the perfect groove for your track.
Step Two: Choose Your Samples
Now that you have your software set up, it’s time to start making some music! The first step is to choose what samples you want to use in your track. Dubstep and electronic music generally uses a lot of percussion, so look for drum loops and one-shots that you can slice and rearrange. You can also use synth loops and basslines to provide the melodic elements in your track. Once you’ve found some samples that you like, it’s time to start putting them together into a song.
Step Three: Create a Drum Pattern
Now that you have your three instruments, it’s time to start laying down some tracks. First, let’s work on the drums.
If you’re using a drum machine or acoustic drums, set up a basic beat. If you’re using a DAW, you can use pre-recorded drum loops or program your own. Once you have a beat, it’s time to start layering in some percussion.
If you’re using loops, look for ones that complement the tempo and feel of your drumbeat. For example, if you’re working with a four-on-the-floor kick drum, try adding in some percussive loops that have a similar pulse. If you’re programming your own drums, experiment with different kick drums, snares, and hi-hats to find a sound that you like.
Once you have a basic drum pattern, start adding in other elements.Hi-hats and cymbals can help add energy to your track, while longer 808 bass drums can help provide a sense of forward momentum. Experiment with different combinations of sounds until you find something that you like.
Step Four: Create a Bassline
Now that you have your drums sorted out, it’s time to create a bassline. If you don’t have a bass synth plugin, no worries – any synth with a lowpass filter will do. Start by creating a four-bar loop. Then, add a kick drum on the first and third beats of each bar. Next, add a snare drum on the second and fourth beats of each bar. Finally, add a hi-hat on the off-beats (the “and”s).
Your bassline will be playing on top of this drumbeat, so make sure it doesn’t clash with the drums. A good rule of thumb is to keep the bassline around 100-200 Hz. To find out what note corresponds to a particular frequency, you can use an online frequency-to-note converter such as this one: http://www.szynalski.com/tonecalc/tonecalc.htm
Once you’ve decided what note you want your bassline to be in, it’s time to start creating the actual melody. Again, there are no hard and fast rules here – it’s all about experimentation. Try playing around with different notes and rhythms until you find something you like.
Step Five: Create a Lead
The lead is the part of the song that will be most memorable, and is therefore the most important to get right. It’s often the “hook” of the song, and will be the part that people remember and sing along to.
Leads can be created with any instrument, but are most commonly created with synths. To create a lead, start by coming up with a melody that you think would sound good as a lead. Once you have your melody, figure out what chords would go along with it. Once you have your chords, it’s time to start programming them into your DAW.
Start by creating a new MIDI track and choosing a synth sound that you like. Then, use your MIDI keyboard or computer keyboard to input the notes of your melody into the track. Be sure to edit the velocity (loudness) of each note so that they sound natural – too much velocity can sound artificial and unpleasant.
Once you have your melody programmed in, it’s time to add some chords. Chords can be added by creating new MIDI tracks and programming in the notes of the chord progression that you came up with earlier. Or, if you’re using a synth that has multiple oscillators (sounds), you can set each oscillator to play a different note in the chord, giving it a fuller sound.
Now that you have your lead and chords programmed in, it’s time to start adding effects. Effects can really help bring out the best in your lead and make it sound more interesting. Reverb is always a good effect to add – it helps make the lead sound bigger and more “full”. Other effects like delay, chorus, and flanger can also be used – experiment and see what sounds best!
Step Six: Arrange Your Track
Now that you have your basic track laid out, it’s time to start arranging it into a song. In electronic music, the arrangement is often very simple, with each section happening once and then looping indefinitely. That being said, there are a few things to keep in mind when arraging your track.
The first thing to think about is the overall structure of the song. Most electronic songs have four parts: an intro, a drop, a build, and a break. The intro is usually just a few measures long, and is meant to introduce the listener to the sound of the song. The drop is the part of the song where the bass and drums come in and everything gets going. The build is usually just a few measures long and happens right before the drop; it’s meant to increase the tension and make the drop even more impactful. The break is usually a measure or two long and happens right after the drop; it’s meant to give listeners a moment to catch their breath before everything starts up again.
Of course, you don’t need to strictly adhere to this structure, but it’s a good starting point. Once you have an idea of how you want your track to flow, you can start piecing together your arrangement. Start with your intro and then add in your other sections one by one. As you’re arranging your track, think about how each section will sound in relation to the ones that come before and after it; smooth transitions will make your track sound more cohesive overall.
If you get stuck, try muting all of the tracks except for one and then arranging that track by itself; once you have that track in place, you can start adding in the others one by one until everything falls into place.
Step Seven: Add Effects
Now that you have your basic sound, it’s time to add some effects. Effects can range from simple EQ (equalization) to more complex effects like delays, reverbs, and compressors.
EQ is used to shape the sound of your track and make it fit better into the mix. For example, you might use EQ to boost the bass frequencies in your track if it sounds too thin. Or you might cut the high frequencies if your track sounds too harsh.
Delays and reverbs are used to create a sense of space in your track. They can make your track sound larger and more epic, or they can make it sound small and intimate.
Compressors are used to even out the levels of your track. If your track has huge peaks and valleys (loud parts and quiet parts), a compressor can help even things out so that the volume is more consistent.
Conclusion
Now that you know the basics of Dubstep and electronic music production, it’s time to get out there and start making your own hits! Remember to have fun with it, and experiment with different sounds and techniques to find your own unique style.